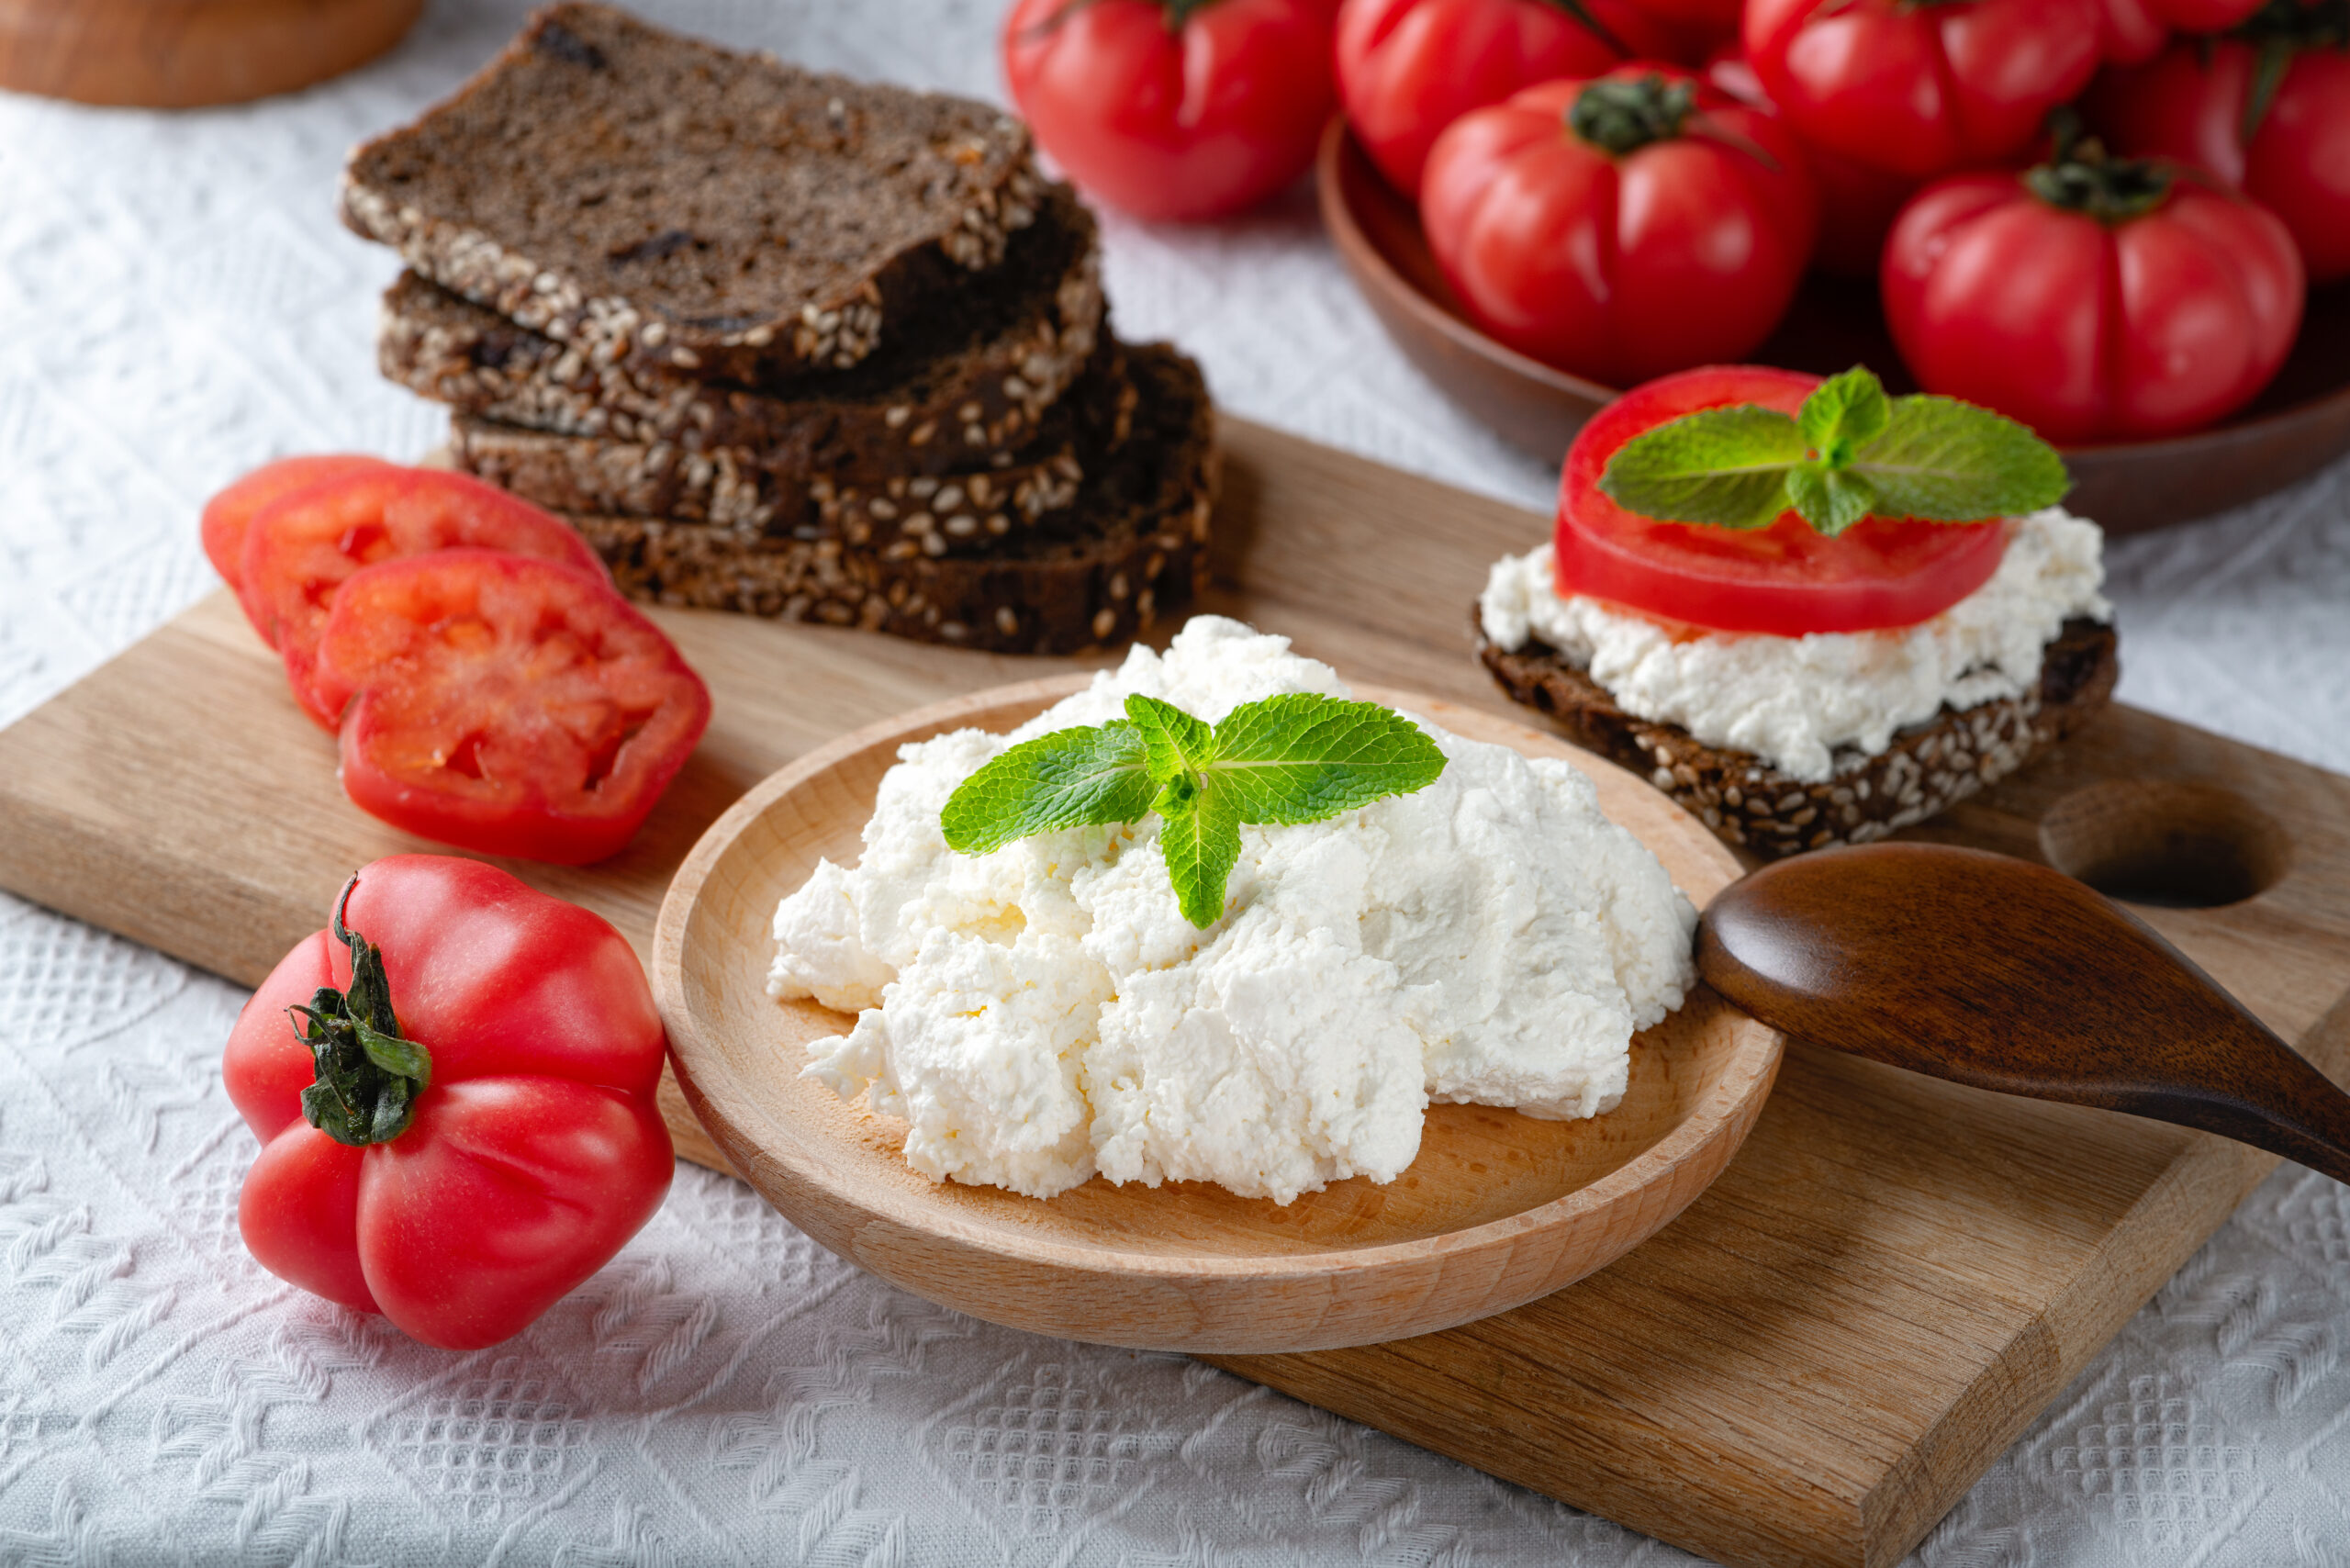
Making ricotta cheese at home is a rewarding endeavor that allows you to enjoy fresh, creamy cheese while honing your culinary skills. This easy-to-follow guide will walk you through the entire process, from gathering your ingredients to perfecting your homemade ricotta. By the end, you’ll not only create a delicious product but also gain a deeper appreciation for the art of cheese making.
Gathering Ingredients for Homemade Ricotta Cheese
To embark on your ricotta-making journey, you’ll need a few simple ingredients. The beauty of homemade ricotta lies in its minimalism, making it approachable for even novice cooks. Here’s what you will need:
- 1 gallon of whole milk
- 1 cup of heavy cream
- 1/4 cup of white vinegar or lemon juice
- 1 teaspoon of salt
Using high-quality ingredients is essential for achieving the best flavor and texture. Opt for fresh, whole milk and cream if possible, as they will contribute to the creaminess of your ricotta. The acid—whether vinegar or lemon juice—plays a crucial role in curdling the milk, so choose your preferred flavor profile.
Step-by-Step Process to Make Fresh Ricotta Cheese at Home
Creating your own ricotta cheese is a straightforward process that can be completed in just a few steps. Follow this step-by-step guide to ensure your success.
- Prepare Your Equipment: Begin by gathering the necessary equipment. You will need a large heavy-bottomed pot, a cooking thermometer, a slotted spoon, a fine-mesh strainer, and cheesecloth. Make sure all your equipment is clean to ensure a safe and sanitary cheese-making process.
- Heat the Milk and Cream: Pour the gallon of whole milk and the cup of heavy cream into the large pot. Place the pot over medium heat and gently warm the mixture. Use your thermometer to monitor the temperature. You want to heat the milk to about 190°F (88°C), which is just below boiling. Stir occasionally to prevent the milk from scorching on the bottom of the pot.
- Add the Acid: Once the milk and cream mixture reaches the desired temperature, remove the pot from the heat. Gently stir in the white vinegar or lemon juice, followed by the salt. You should see the mixture begin to curdle, with the curds separating from the whey. Allow the mixture to sit undisturbed for about 10 minutes. This resting period is crucial as it lets the curds form properly.
- Strain the Curds: After 10 minutes, take your fine-mesh strainer and line it with cheesecloth. Place the strainer over a large bowl to catch the whey. Carefully ladle the curds into the strainer, allowing the whey to drain away. If you prefer a creamier ricotta, you can leave some whey in the curds. For a drier texture, let it drain longer.
- Rinse and Season: Once the curds have drained to your liking, rinse them gently under cold water to remove any residual acidity from the vinegar or lemon juice. After rinsing, you can add additional salt to taste if desired. Mix the salt gently into the curds to ensure even distribution.
- Store Your Ricotta: Transfer your fresh ricotta cheese into an airtight container. If you’d like to keep it for later use, store it in the refrigerator where it can last for up to one week. For longer storage, consider freezing your ricotta in small portions for later use in recipes.
Making ricotta is not just about following a recipe; it’s also about understanding the process. As you engage with the ingredients, you’ll develop a sense of the texture and flavor you’re aiming for, allowing you to customize your cheese to your liking.
Understanding the Science Behind Ricotta Cheese
The process of making ricotta cheese involves a fascinating interplay of heat, acidity, and time. When milk is heated, the proteins, particularly casein, come to a point where they begin to coagulate. The addition of an acid, such as vinegar or lemon juice, accelerates this coagulation process, resulting in the formation of curds. The curds are the solid part of the cheese, while the whey is the liquid byproduct. The role of temperature is crucial in this process. If the milk is heated too quickly or is brought to a boil, it can lead to a tough texture in your ricotta. Gentle heating allows the proteins to coagulate evenly, creating a smooth and creamy consistency. Acidity is another critical factor. Different acids impart distinct flavors to the cheese. For example, lemon juice will give your ricotta a brighter, zestier flavor, while vinegar will result in a more neutral taste. Experimenting with different acids can lead to variations that excite your palate.
Tips for Variations and Storage
Homemade ricotta is incredibly versatile and can be adapted to suit a variety of dishes and flavor preferences. One way to enhance your ricotta is by incorporating herbs and spices during the mixing stage.
Fresh basil, chives, or dill can add a delightful twist to your cheese, making it perfect for spreads or toppings. For a sweeter ricotta, consider mixing in honey or a touch of vanilla extract. This variation can be delightful when served with fresh fruits or spread on toast.
If you want to make your ricotta more substantial, you can experiment with adding a bit of grated Parmesan cheese or cream cheese during the mixing process. This will give your ricotta a richer flavor and creamier texture. When it comes to storage, keeping your ricotta in an airtight container is essential to maintain its freshness.
If you notice any moisture accumulating in the container, you can place a paper towel to absorb excess liquid, keeping your cheese from becoming watery.
For longer-term storage, remember that while freezing is an option, the texture may change slightly upon thawing, so use it in cooked dishes where the texture will be less noticeable. In conclusion, making ricotta cheese at home is a fulfilling experience that yields delicious results. With just a few simple ingredients and some patience, you can create fresh ricotta that enhances a variety of dishes. Whether you enjoy it in savory pasta dishes, sweet desserts, or as a spread on your favorite bread, homemade ricotta is sure to impress. Embrace the process, experiment with flavors, and enjoy the fruits of your labor in your culinary adventures.
Leave a Reply