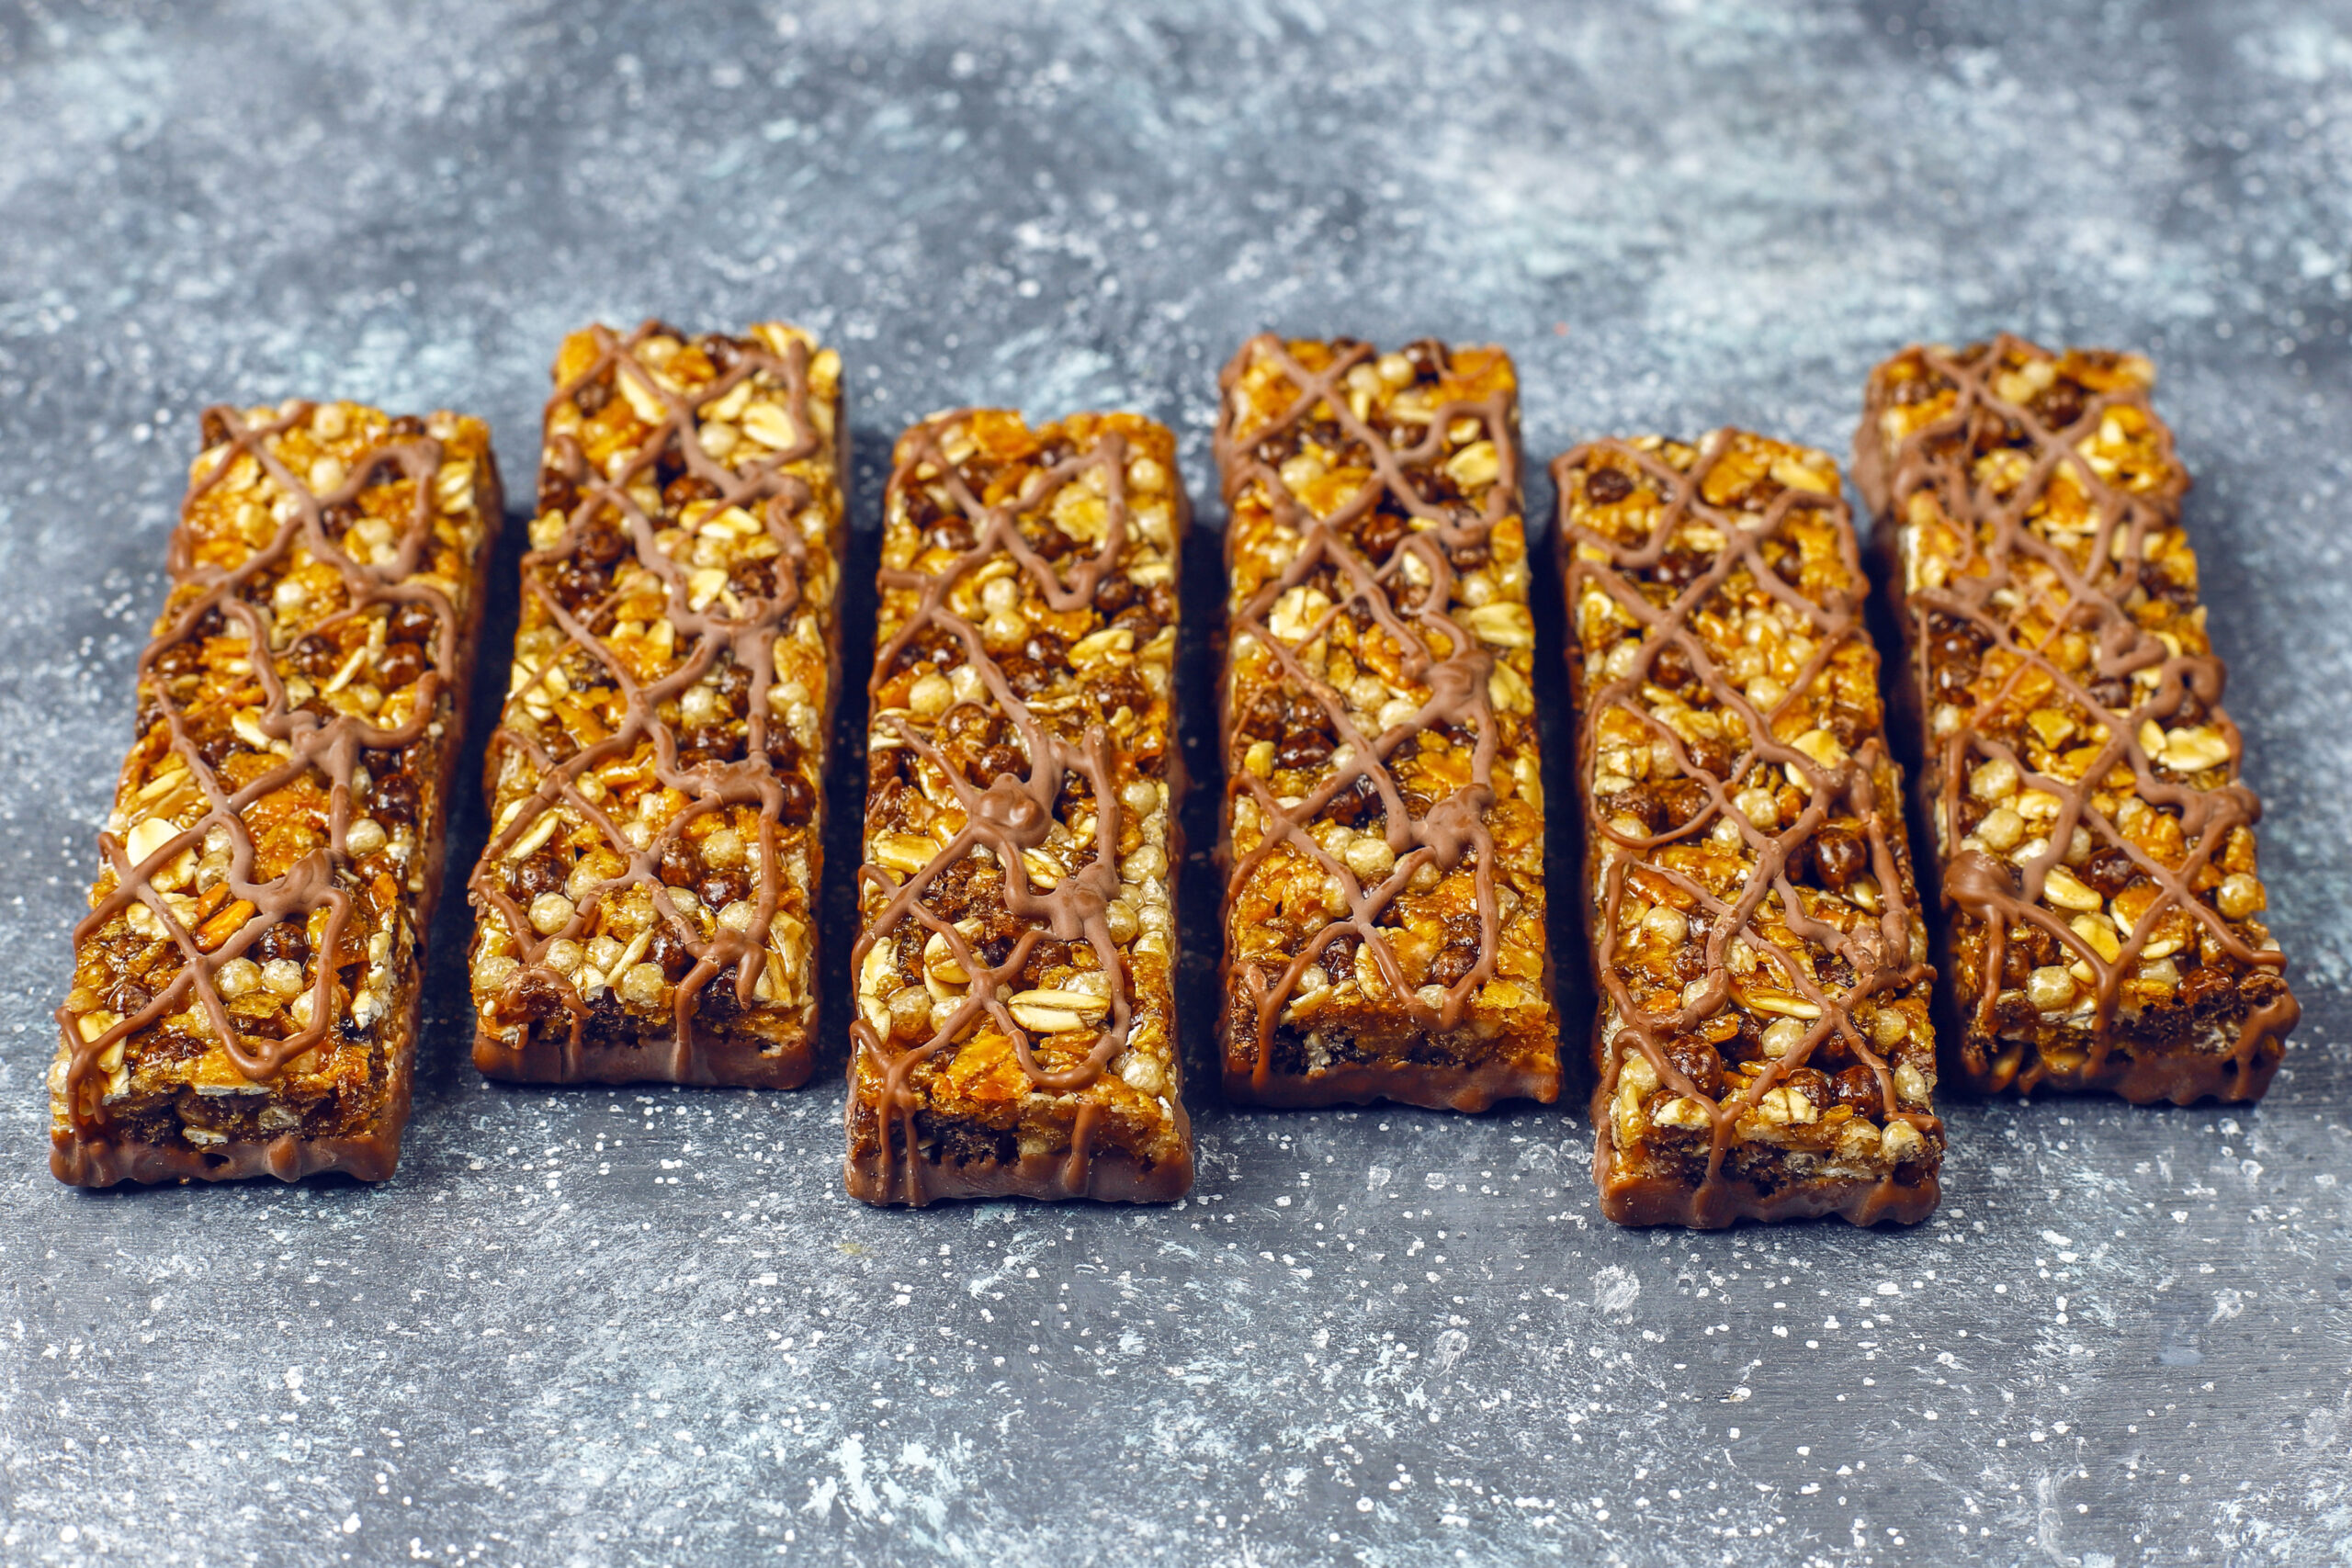
Lunch lady bars are a delightful throwback to school days, reminiscent of the sweet treats served in cafeterias across the country. These indulgent dessert bars are not only simple to make but also offer a fantastic way to bring a bit of nostalgia into your kitchen. With their soft, cake-like base and creamy frosting, they are perfect for any occasion, whether it’s a family gathering or just a cozy night at home. In this article, we will explore the nostalgic appeal of lunch lady bars, the essential ingredients needed to create them, and a step-by-step guide to baking your own delicious batch.
The Nostalgic Appeal of Lunch Lady Bars
For many, lunch lady bars evoke fond memories of school days filled with laughter, friendships, and of course, the sweet aroma of freshly baked desserts wafting through the cafeteria. These bars, often referred to as “school bars” or “cookie bars,” were a staple in lunchrooms and are cherished for their simplicity and deliciousness. The combination of a moist, cake-like texture topped with a smooth frosting makes them irresistible to both kids and adults alike.
Lunch lady bars are versatile, allowing for various flavor combinations and toppings, but they are most commonly associated with a classic vanilla or chocolate base combined with a sweet, creamy frosting. Their convenience as a dessert option makes them perfect for potlucks, birthday parties, or even a mid-afternoon treat. As you take a bite of these delightful bars, you are not just enjoying a dessert; you are also savoring a piece of nostalgia that brings back cherished memories.
Essential Ingredients for Perfect Lunch Lady Bars
To create the perfect batch of lunch lady bars, you’ll need a few essential ingredients that come together to form the rich, moist base and the delectable frosting. Here’s what you will need:
- 1 cup unsalted butter, softened
- 2 cups granulated sugar
- 4 large eggs
- 2 teaspoons vanilla extract
- 3 cups all-purpose flour
- 1 teaspoon baking powder
- 1 teaspoon baking soda
- 1/2 teaspoon salt
- 1 cup sour cream
For the frosting, gather the following ingredients:
- 1/2 cup unsalted butter, softened
- 4 cups powdered sugar
- 1/4 cup milk
- 2 teaspoons vanilla extract
These ingredients come together to create the rich taste and texture that lunch lady bars are known for. The combination of butter and sugar results in a tender crumb, while the addition of sour cream adds moisture and a subtle tang. The frosting, made from butter, powdered sugar, and milk, is what elevates these bars into a true dessert delight.
Step-by-Step Guide to Baking Lunch Lady Bars
Baking lunch lady bars is a straightforward process that yields delicious results. Follow these step-by-step instructions to create your own batch.
- Preheat the oven to 350°F (175°C). Prepare a large baking pan, ideally a 12×17 inch pan, by greasing it or lining it with parchment paper.
- Mix the wet ingredients. In a large mixing bowl, cream together the softened butter and granulated sugar until light and fluffy. This will take about 3-5 minutes. Then, add the eggs one at a time, mixing well after each addition. Stir in the vanilla extract until fully incorporated.
- Combine dry ingredients. In a separate bowl, whisk together the flour, baking powder, baking soda, and salt. Gradually add the dry mixture to the wet ingredients, alternating with the sour cream. Begin and end with the flour mixture, mixing until just combined. Be careful not to overmix, as this can lead to dense bars.
- Pour the batter into the prepared baking pan, spreading it evenly. Bake in the preheated oven for about 25-30 minutes, or until a toothpick inserted into the center comes out clean. The bars should be golden brown and spring back when lightly touched.
- Cool the bars in the pan for about 10 minutes before transferring them to a wire rack to cool completely.
- Prepare the frosting while the bars cool. In a medium bowl, beat the softened butter until creamy. Gradually add the powdered sugar, mixing on low speed to avoid a sugar cloud. Once combined, add the milk and vanilla extract, beating until smooth and spreadable.
- Frost the cooled bars. Once the bars are completely cool, spread the frosting evenly over the top using a spatula. For an extra touch, consider adding sprinkles or a drizzle of chocolate on top.
- Slice and serve. Cut the bars into squares or rectangles, and enjoy your homemade lunch lady bars! These bars can be stored in an airtight container at room temperature for up to a week.
With this easy recipe, you can enjoy the delightful taste of lunch lady bars in your own home. The steps are simple, making these bars an excellent choice for bakers of all skill levels. Whether you are reminiscing about your school days or introducing a new generation to this beloved treat, lunch lady bars are sure to bring joy and satisfaction to everyone who tries them. So gather your ingredients, preheat your oven, and get ready to create a nostalgic dessert that is as delicious as it is memorable.

Leave a Reply