A great cheesecake feels like it came from a fancy bakery: silky-smooth, just firm enough to slice cleanly, with that buttery graham cracker crust and a tang that keeps every bite from being too sweet. The secret is less about magic and more about method—gentle mixing, the right temperature, and a simple water bath to keep the top from cracking. This recipe walks you through each step so you get a rich, creamy, classic baked cheesecake that looks as good as it tastes.
Why You’ll Love This Cheesecake
- Ultra-creamy texture – no dry, crumbly slices here
- Buttery graham cracker crust – just sweet and salty enough
- Crack-minimizing method – water bath and slow cooling
- Make-ahead friendly – actually tastes better the next day
- Endlessly customizable – top with berries, caramel, chocolate, or keep it plain
Tools You’ll Need
- 9-inch springform pan
- Heavy-duty aluminum foil (for water bath)
- Large roasting pan or deep baking dish (to hold the springform)
- Mixing bowls
- Electric mixer (hand or stand mixer)
- Rubber spatula
Ingredients
For the Graham Cracker Crust
- 1½ cups graham cracker crumbs (about 10–12 full sheets)
- 2 tbsp granulated sugar
- ¼ tsp fine salt
- 6 tbsp unsalted butter, melted
For the Cheesecake Filling
- 32 oz (900 g) full-fat cream cheese, room temperature (4 blocks)
- 1 cup granulated sugar
- ¾ cup sour cream, room temperature
- ¼ cup heavy cream or whipping cream, room temperature
- 1 tbsp fresh lemon juice
- 2 tsp vanilla extract
- ¼ tsp fine salt
- 4 large eggs, room temperature
Optional Topping (Sour Cream Layer)
- 1 cup sour cream
- 2 tbsp granulated sugar
- 1 tsp vanilla extract
Step 1: Prep the Pan & Oven
- Preheat the oven to 350°F (175°C).
- Lightly grease a 9-inch springform pan.
- Wrap the outside of the pan (bottom and up the sides) in two layers of heavy-duty foil to protect it from the water bath. Make sure there are no gaps.
Step 2: Make the Graham Cracker Crust
- In a bowl, combine graham cracker crumbs, sugar, and salt.
- Pour in the melted butter and mix until the crumbs are evenly moistened and look like wet sand.
- Press the mixture firmly into the bottom of the springform pan (and slightly up the sides if you like). Use the bottom of a measuring cup to compact it.
- Bake the crust for 8–10 minutes until lightly golden and fragrant.
- Remove from the oven and let cool slightly while you prepare the filling. Reduce the oven temperature to 325°F (160°C).
Step 3: Make the Cheesecake Filling
Tip: Room-temperature ingredients = smoother batter and fewer cracks.
- Beat the cream cheese
- In a large bowl, beat the cream cheese on medium speed until completely smooth and creamy, about 2–3 minutes.
- Scrape down the bowl and paddle often.
- Add sugar
- Add the granulated sugar and beat until combined and fluffy, about 1–2 minutes.
- Add sour cream, heavy cream, lemon, vanilla, and salt
- Mix in sour cream, heavy cream, lemon juice, vanilla, and salt on low speed until smooth.
- Scrape down the bowl again to catch any lumps.
- Add the eggs (gently)
- Add the eggs one at a time, mixing on low speed just until each egg is incorporated before adding the next.
- Do not overbeat once the eggs are in; too much air can cause cracks.
- Give the bowl a final gentle stir with a spatula to ensure the batter is evenly mixed and smooth.
Step 4: Assemble the Water Bath
- Place the foil-wrapped springform pan with crust into a large roasting pan.
- Pour the cheesecake filling into the crust and smooth the top.
- Bring a kettle or pot of water to a boil.
- Carefully pour hot water into the roasting pan around the springform until it reaches about 1–2 inches up the sides of the pan.
- Make sure no water spills into the cheesecake.
The water bath (bain-marie) keeps the temperature gentle and even, helping prevent cracking and overbaking.
Step 5: Bake the Cheesecake
- Bake at 325°F (160°C) for about 60–75 minutes.
- The cheesecake is done when:
- The edges look set and slightly puffed.
- The center 2–3 inches still jiggle slightly when you gently shake the pan (like Jell-O, not like liquid).
- Avoid opening the oven door often; quick temperature changes can cause cracks.
Step 6: Cool Slowly (Crack Prevention!)
- Turn off the oven and open the door a crack.
- Let the cheesecake sit in the oven (in the water bath) for 30–45 minutes to cool gradually.
- Remove the roasting pan from the oven and carefully lift out the springform pan.
- Remove the foil and place the cheesecake on a cooling rack.
- Run a thin knife around the edge of the cheesecake to loosen it from the sides of the pan (this helps prevent cracks as it contracts).
- Cool to room temperature, about 1–2 hours.
Optional Step 7: Sour Cream Topping
This gives a glossy finish and helps hide any small cracks.
- Preheat the oven again to 325°F (160°C) if it has cooled.
- In a small bowl, whisk sour cream, sugar, and vanilla until smooth.
- Spread the mixture gently over the cooled cheesecake in an even layer.
- Bake for 10 minutes.
- Let cool again to room temperature.
Step 8: Chill & Serve
- Cover the cooled cheesecake (still in the pan) and refrigerate for at least 4 hours, but overnight is best for flavor and texture.
- Before serving, release the springform ring and transfer the cheesecake to a serving plate.
- Slice with a sharp, thin knife, wiping the blade with a warm, damp cloth between cuts for clean slices.
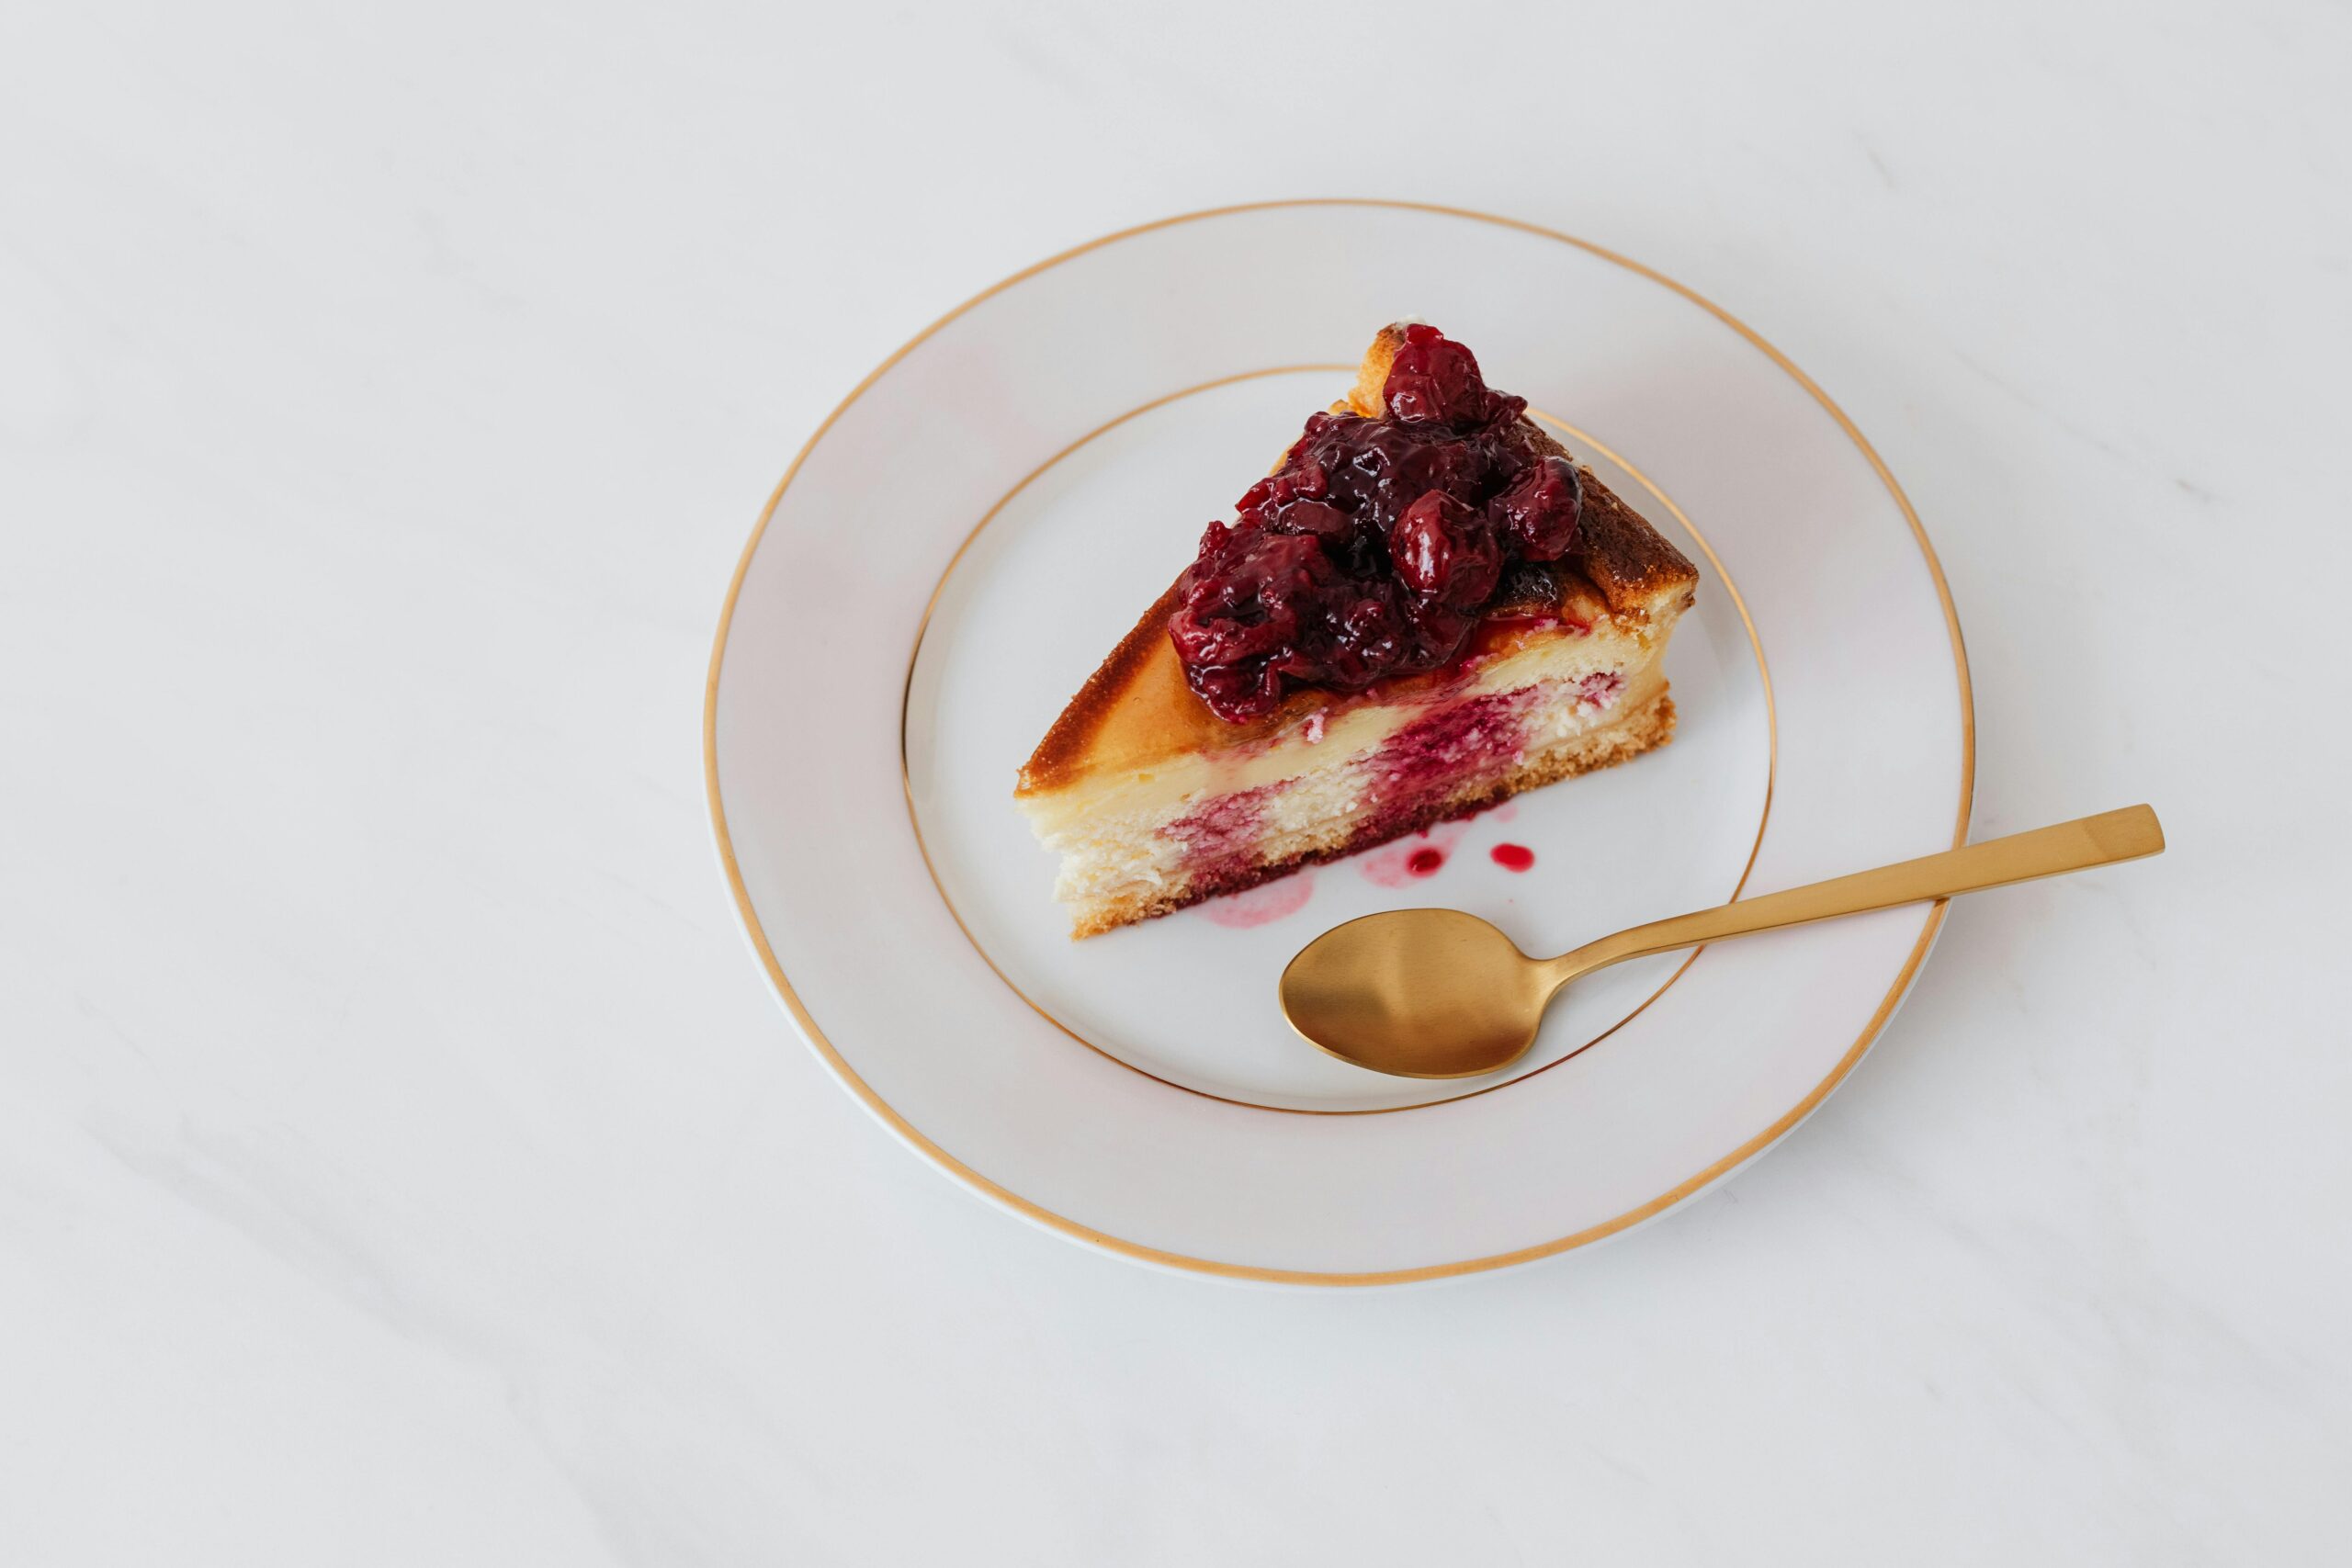
Topping Ideas
Serve plain or dress it up:
- Fresh berries (strawberries, raspberries, blueberries)
- Berry compote or sauce
- Salted caramel sauce
- Lemon curd
- Chocolate ganache and chocolate shavings
- Crushed cookies (Oreos, Biscoff, graham crumbs)
Cheesecake Tips & Troubleshooting
How do I avoid cracks?
- Use room-temperature ingredients.
- Don’t overbeat once the eggs are added.
- Bake in a water bath.
- Avoid big temperature swings—cool slowly in the oven.
- Run a knife around the edge as it cools to prevent sticking.
What if it still cracks?
It happens! The cheesecake will still taste amazing. Add the sour cream topping, whipped cream, or fruit and no one will notice.
How do I know it’s done?
The center should still wobble slightly like gelatin, not slosh like liquid. It will firm up as it cools and chills. If the entire cheesecake is rigid in the oven, it’s overbaked.
Variations
Once you’ve mastered the classic, try:
- Lemon Cheesecake: Add extra lemon zest and use lemon curd on top.
- Chocolate Cheesecake: Replace ½ cup of the sour cream/heavy cream with melted, cooled dark chocolate and add 2–3 tbsp cocoa powder.
- Oreo Cheesecake: Use crushed chocolate sandwich cookies in the crust and fold chopped cookies into the filling.
- Salted Caramel Cheesecake: Swirl caramel into the batter before baking and finish with more caramel and flaky sea salt.
Storage & Freezing
- Fridge:
- Store cheesecake covered in the refrigerator for up to 4–5 days.
- Freezer (whole or slices):
- Chill until firm, then wrap tightly in plastic wrap and foil, or store slices in airtight containers.
- Freeze for up to 2–3 months.
- Thaw in the fridge overnight before serving.