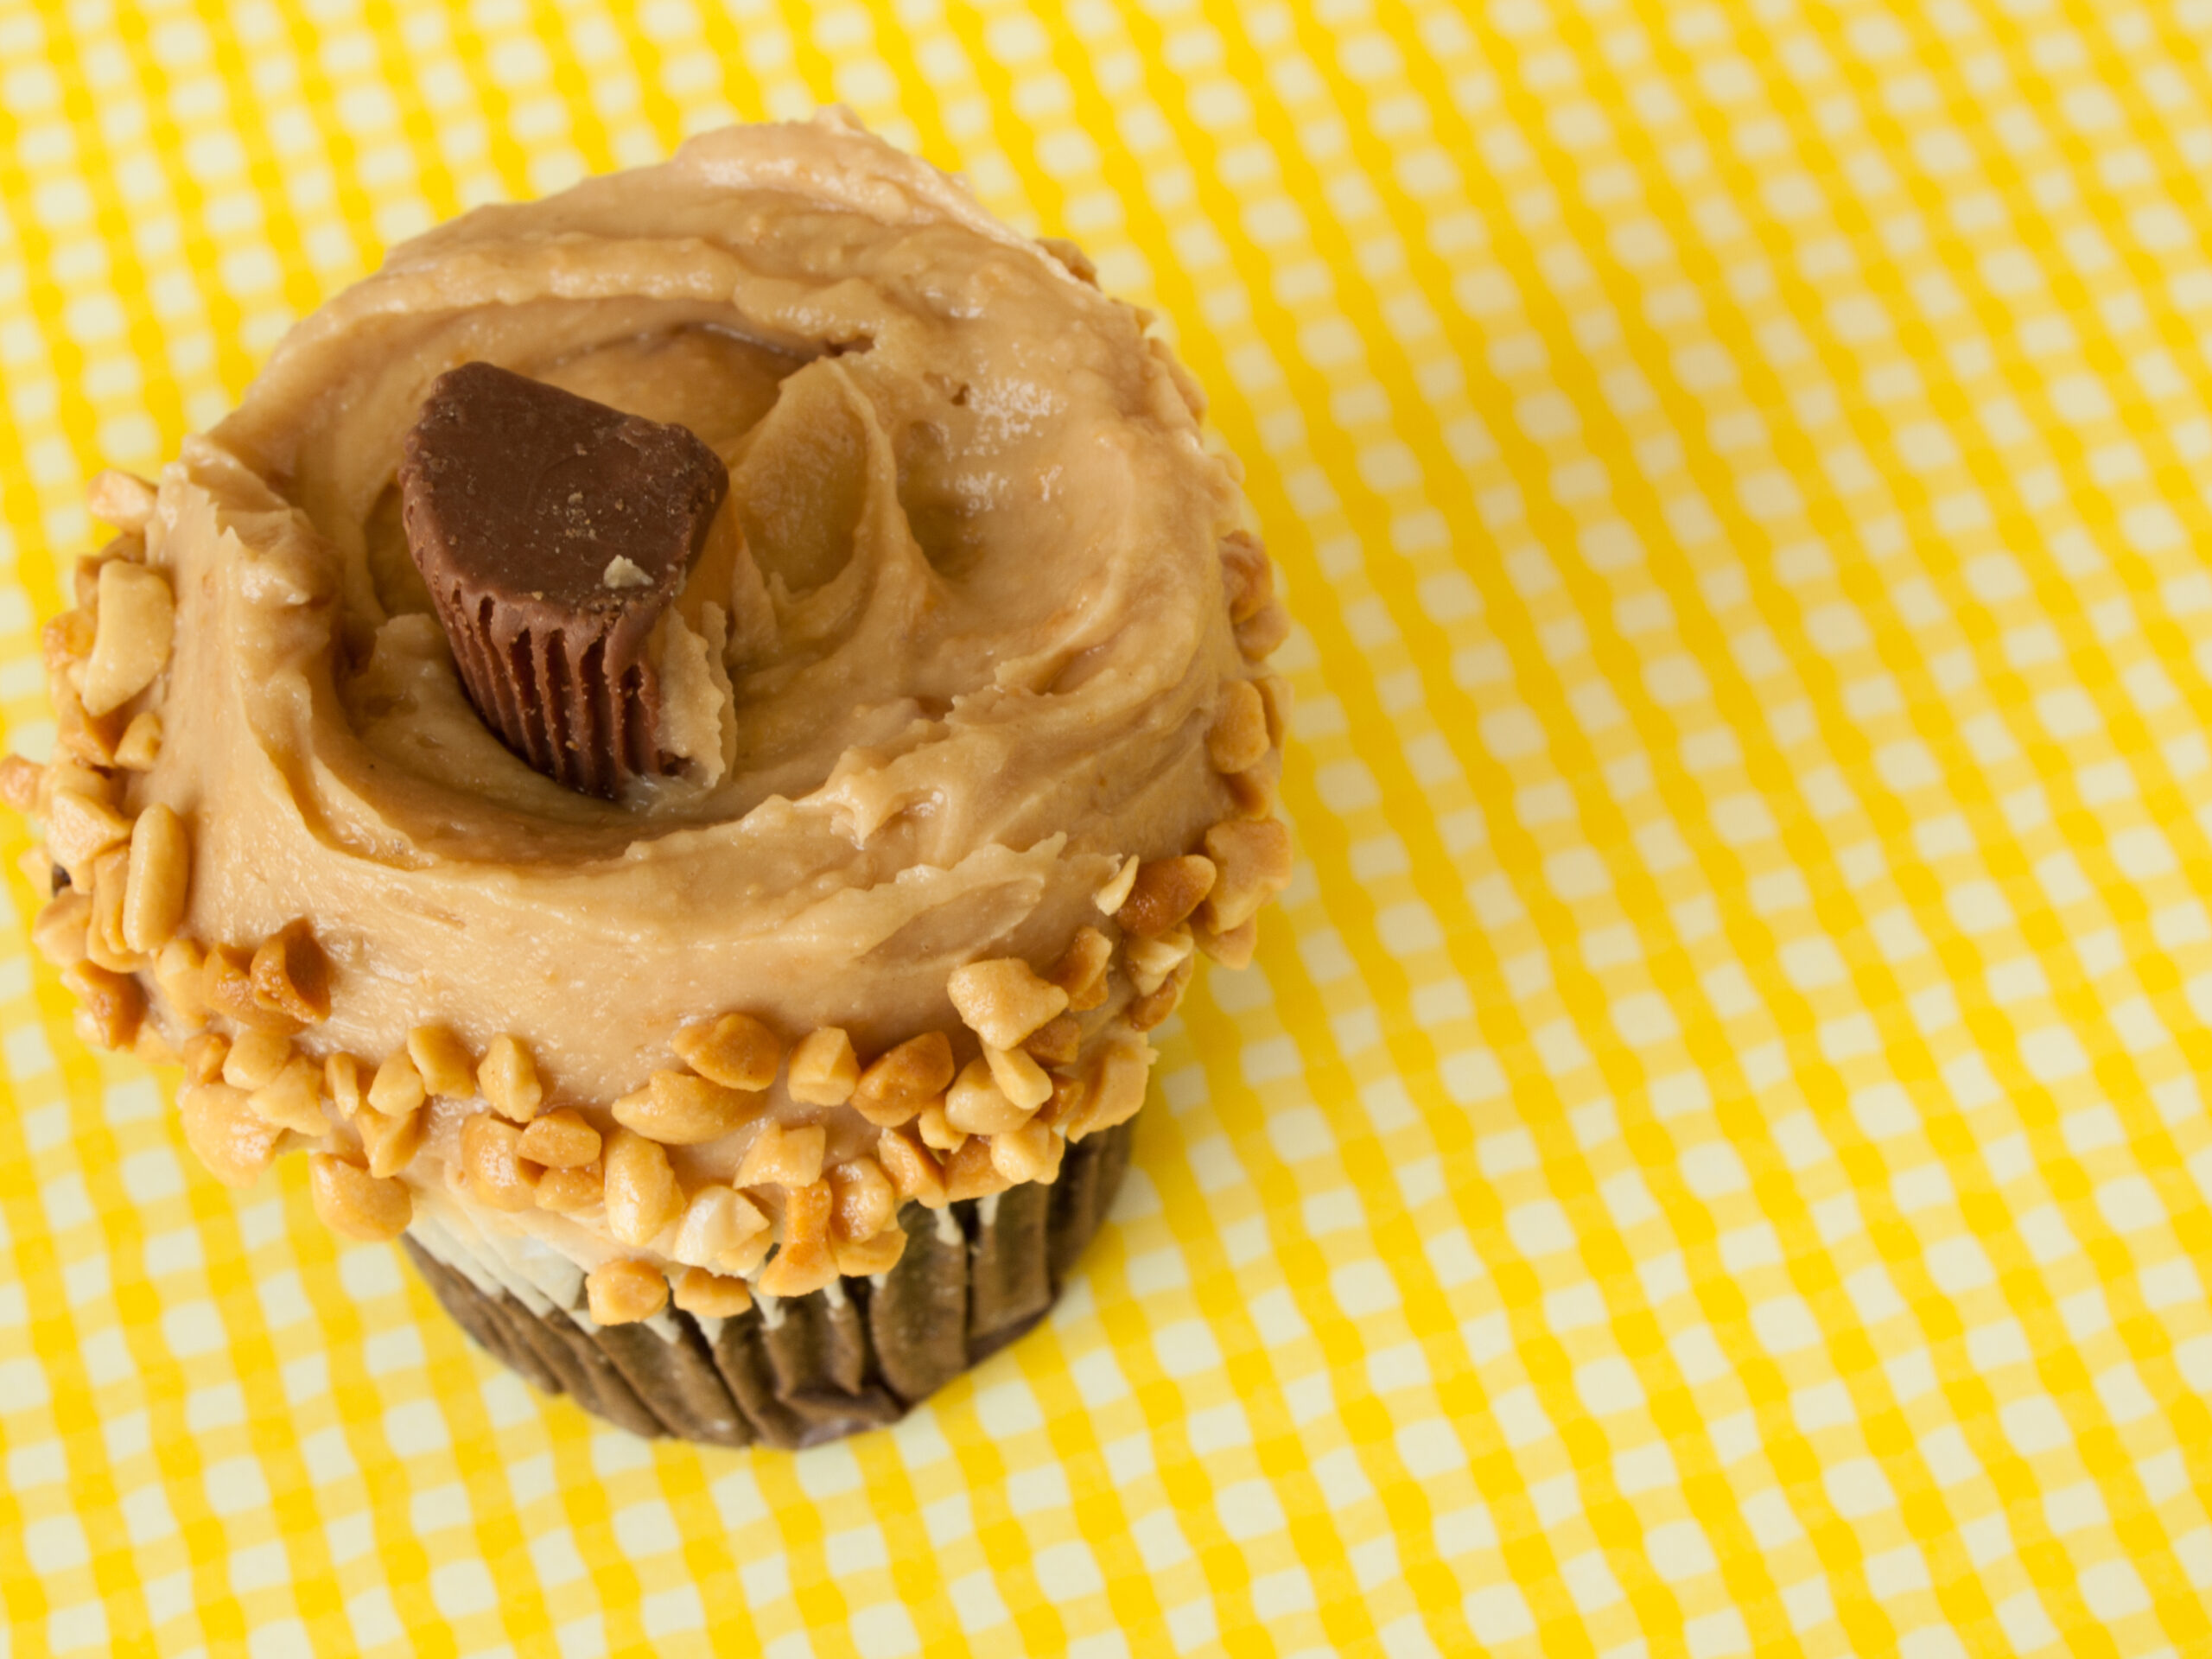
Peanut butter cups are a beloved treat that combines the rich flavor of chocolate with the creamy, nutty goodness of peanut butter. While many enjoy the store-bought versions, there’s something truly special about making your own at home. Homemade peanut butter cups are not only easy to prepare but also allow you to customize the flavors and ingredients to suit your preferences. Whether you’re a novice baker or a seasoned pro, this guide will walk you through the process of creating delicious, easy peanut butter cups that can satisfy any sweet tooth.
Gathering Ingredients for Perfect Peanut Butter Cups

Before diving into the making of peanut butter cups, it’s essential to gather all the necessary ingredients. This ensures you have everything on hand and makes the process smoother. Here’s what you’ll need:
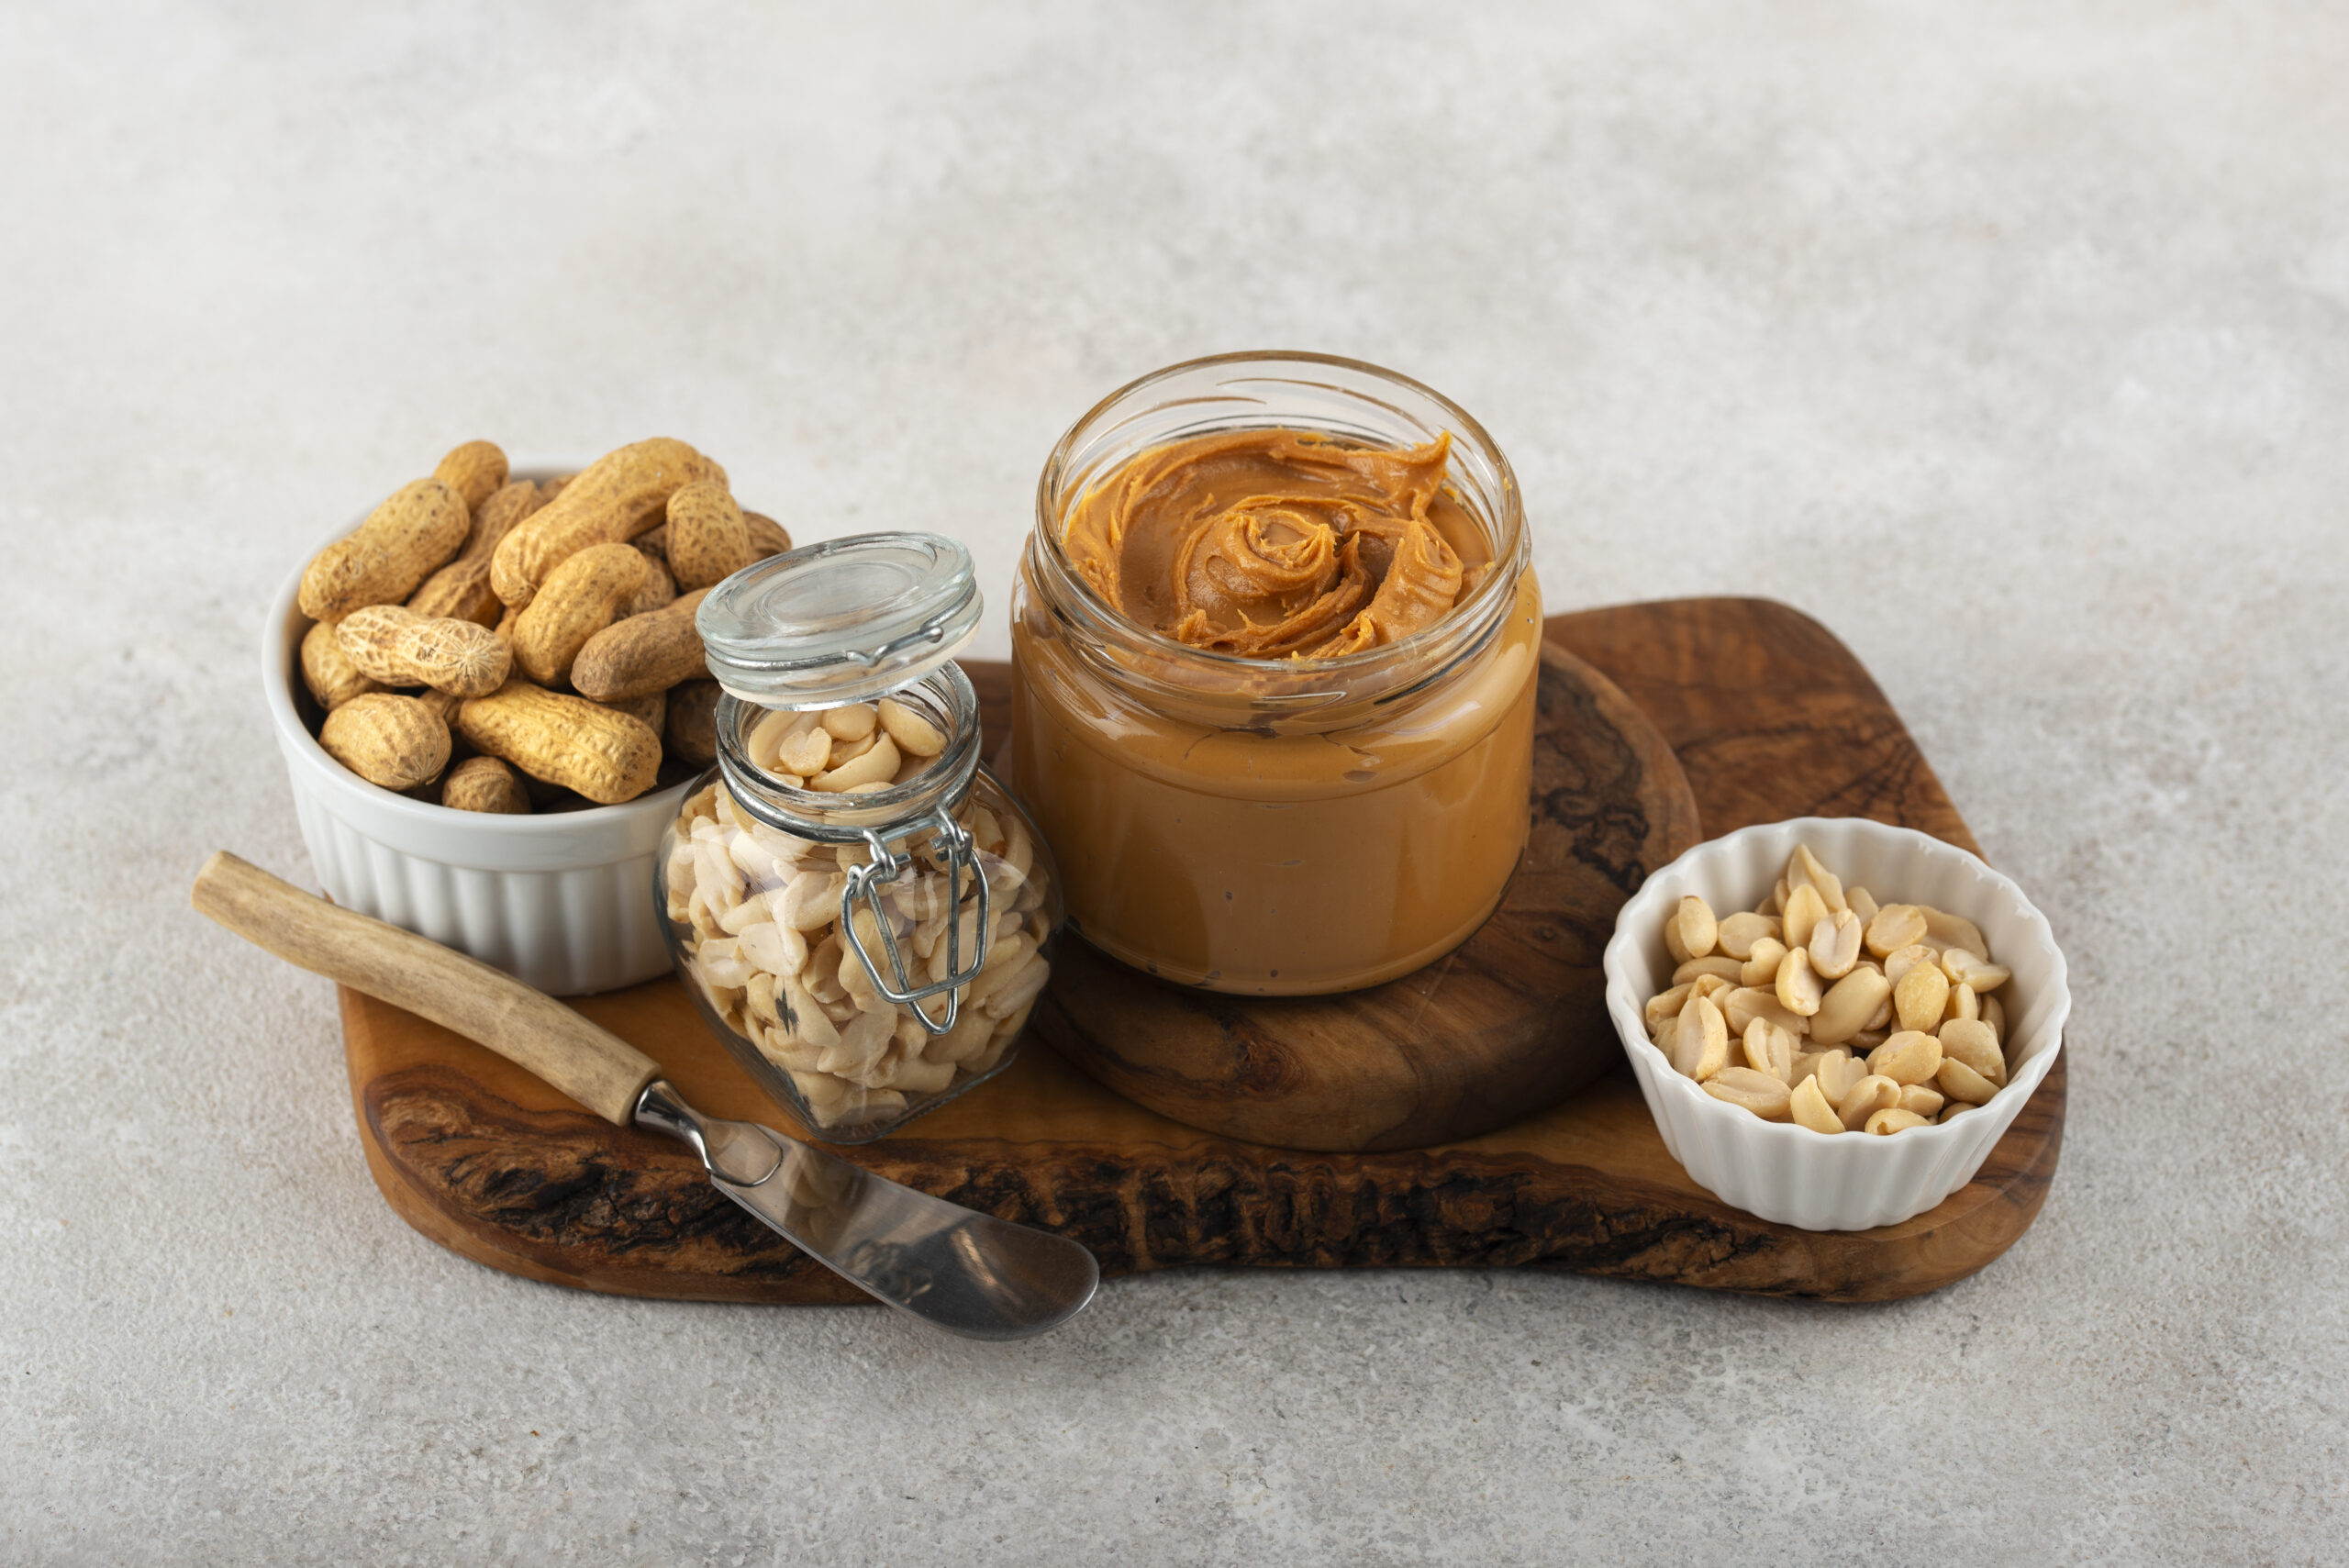
- 1 cup of creamy peanut butter
- 1 cup of powdered sugar
- 1 teaspoon of vanilla extract
- 2 cups of chocolate chips (milk chocolate or dark chocolate based on preference)
- 1 tablespoon of coconut oil or vegetable shortening (optional, for smoother chocolate)
Each ingredient plays a crucial role in achieving the perfect balance of flavors and textures. The creamy peanut butter provides a luscious filling, while the powdered sugar adds sweetness and helps to bind the mixture. The chocolate chips will create a delightful outer layer, and the optional coconut oil or vegetable shortening can enhance the chocolate’s smoothness, making it easier to work with.
Step-by-Step Guide to Melting Chocolate for Peanut Butter Cups
Melting chocolate correctly is key to making homemade peanut butter cups. The process requires patience and attention to prevent the chocolate from burning. Here’s how to do it:
- Start by selecting your melting method. You can use a microwave or a double boiler. If using a microwave, place the chocolate chips in a microwave-safe bowl.
- Heat the chocolate in the microwave in 30-second intervals, stirring in between until it’s smooth and fully melted. This usually takes about 1 to 2 minutes total.
- If using a double boiler, fill the bottom pot with water and bring it to a gentle simmer. Place the chocolate chips in the top pot, stirring continuously until melted.
- Once melted, if you are using coconut oil or vegetable shortening, stir it in now to achieve a smoother consistency.
Once your chocolate is melted, it’s important to let it cool slightly before using it. This will prevent it from melting the peanut butter filling when you combine the two. A good rule of thumb is to let the chocolate sit for about 5 minutes, stirring occasionally.
Creating the Ideal Peanut Butter Filling
The peanut butter filling is the heart of the peanut butter cup, and it’s simple to make. In a mixing bowl, combine the creamy peanut butter, powdered sugar, and vanilla extract. Use a spatula or a mixer to combine the ingredients until you achieve a smooth, consistent mixture. The mixture should be thick enough to hold its shape but still spreadable. If you prefer a sweeter filling, feel free to adjust the amount of powdered sugar to your taste.
Once your filling is ready, it’s time to assemble your peanut butter cups. Line a muffin tin with paper liners for easy removal. Spoon a small amount of melted chocolate into the bottom of each liner, just enough to cover the base. Gently tap the muffin tin on your countertop to ensure the chocolate settles evenly.
Next, add a generous scoop of the peanut butter mixture on top of the chocolate layer, making sure to leave some space at the top for the final layer of chocolate. Finally, pour more melted chocolate over the peanut butter layer, ensuring it is completely covered. Again, tap the muffin tin to help the layers settle nicely.
Chilling and Enjoying Your Peanut Butter Cups
After you’ve assembled your peanut butter cups, it’s time for the most crucial step—chilling. Place the muffin tin in the refrigerator for about 30 minutes to an hour, or until the chocolate has fully set. Once they are firm, carefully remove the cups from the muffin tin and peel away the paper liners.
Now that your homemade peanut butter cups are ready, you can enjoy them straight away, or store them in an airtight container in the refrigerator for up to a week. They also freeze well, making them a great treat to have on hand for unexpected cravings or gatherings.
Exploring Variations for Dietary Preferences

One of the best aspects of making homemade peanut butter cups is the ability to tailor them to various dietary preferences. For those who have dietary restrictions or simply want to try something new, here are a few variations to consider:
For a healthier option, you can substitute regular chocolate chips with dark chocolate or sugar-free chocolate chips. Additionally, you might opt for natural peanut butter or almond butter to change the flavor profile while keeping it wholesome.
If you are looking for a vegan alternative, use dairy-free chocolate chips and ensure that the peanut butter used is free from added ingredients that may contain dairy. You can also experiment with different nut butters like cashew or sunflower seed butter for a unique twist.
For a fun flavor enhancement, consider adding a pinch of sea salt on top of the chocolate layer before chilling, or incorporate ingredients like crushed pretzels, shredded coconut, or even a dash of cinnamon into the peanut butter filling for an exciting flavor combination.
In conclusion, homemade peanut butter cups are a delightful treat that you can easily whip up in your own kitchen. With just a few simple ingredients and some straightforward steps, you can create a delicious dessert that is customizable and sure to impress family and friends. So gather your ingredients, melt that chocolate, and get ready to indulge in the creamy, chocolatey goodness of your own homemade peanut butter cups!
