Indulging in a creamy, decadent dessert can be a highlight of any meal, and white chocolate mousse stands out as a luxurious choice that’s surprisingly easy to prepare. This no-bake delight is perfect for special occasions or simply as a treat to brighten your day. With just three primary ingredients, you can create a light and airy dessert that will impress your guests and satisfy your sweet tooth.
Creating Luxurious White Chocolate Mousse with Just Three Ingredients

The beauty of white chocolate mousse lies in its simplicity. By utilizing only white chocolate, heavy cream, and vanilla extract, you can craft a dessert that feels indulgent without overwhelming your kitchen. Here’s what you need to get started:
- 8 ounces of high-quality white chocolate
- 1 cup of heavy whipping cream
- 1 teaspoon of pure vanilla extract
Choosing the right white chocolate is crucial. Opt for a brand with a high cocoa butter content, as this will enhance the mousse’s smooth texture and rich flavor. Avoid chocolate with added vegetable oils, as they can affect the final result.
Step-by-Step Instructions for the Perfect White Chocolate Mousse
Now that you have your ingredients ready, let’s dive into the preparation process. This easy white chocolate mousse recipe involves a few simple steps that yield a delightful dessert.
- Begin by chopping the white chocolate into small pieces to facilitate melting. Place the chocolate in a heatproof bowl.
- Set the bowl over a saucepan of simmering water, creating a double boiler. Stir the chocolate gently until it is completely melted and smooth. Remove from heat and let it cool slightly.
- In a separate bowl, pour in the heavy cream and add the vanilla extract. Using an electric mixer, whip the cream on medium speed until soft peaks form. Be careful not to overwhip, as this can lead to a grainy texture.
- Once the chocolate has cooled slightly, fold a small amount of the whipped cream into the melted chocolate to lighten it. Then, gradually fold in the remaining whipped cream, being gentle to maintain the airy texture.
- Once fully incorporated, spoon the mousse into serving dishes or glasses. Cover and refrigerate for at least two hours, or until set.
This straightforward approach ensures that you achieve a light and fluffy mousse with every bite. The key is to handle the whipped cream delicately, allowing it to retain air while blending with the chocolate.
Mastering the Art of Whipping Cream for Perfect White Chocolate Mousse
Whipping cream is essential in creating that signature lightness in your white chocolate mousse. Understanding how to whip cream properly can elevate your dessert to new heights. It’s important to start with chilled equipment; this includes your mixing bowl and beaters. Cold tools help the cream whip faster and yield better results.
When whipping the cream, begin at a medium speed and gradually increase to high as soft peaks form. Soft peaks are reached when the cream holds its shape but still appears slightly droopy. It’s at this stage that you should incorporate your vanilla extract. This adds a subtle depth of flavor that complements the sweetness of the white chocolate.
As you continue to whip, watch closely for stiff peaks. These peaks should stand tall and hold their shape; however, be cautious not to overwhip, which can cause the cream to become grainy and turn into butter. A perfectly whipped cream will provide the necessary structure for the mousse while keeping it airy and light.
Serving Suggestions for Your White Chocolate Mousse

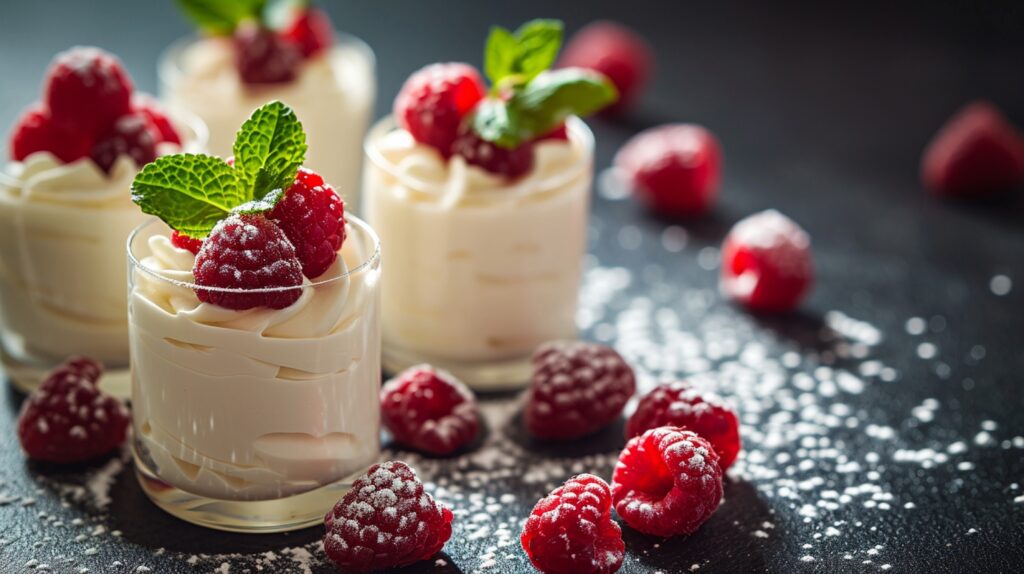
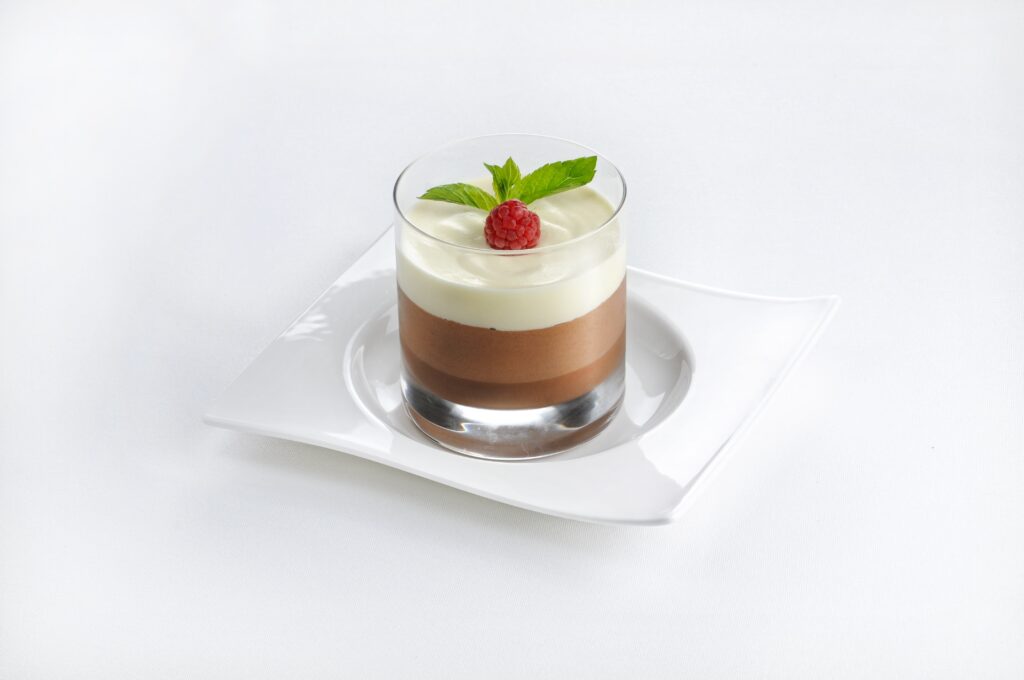
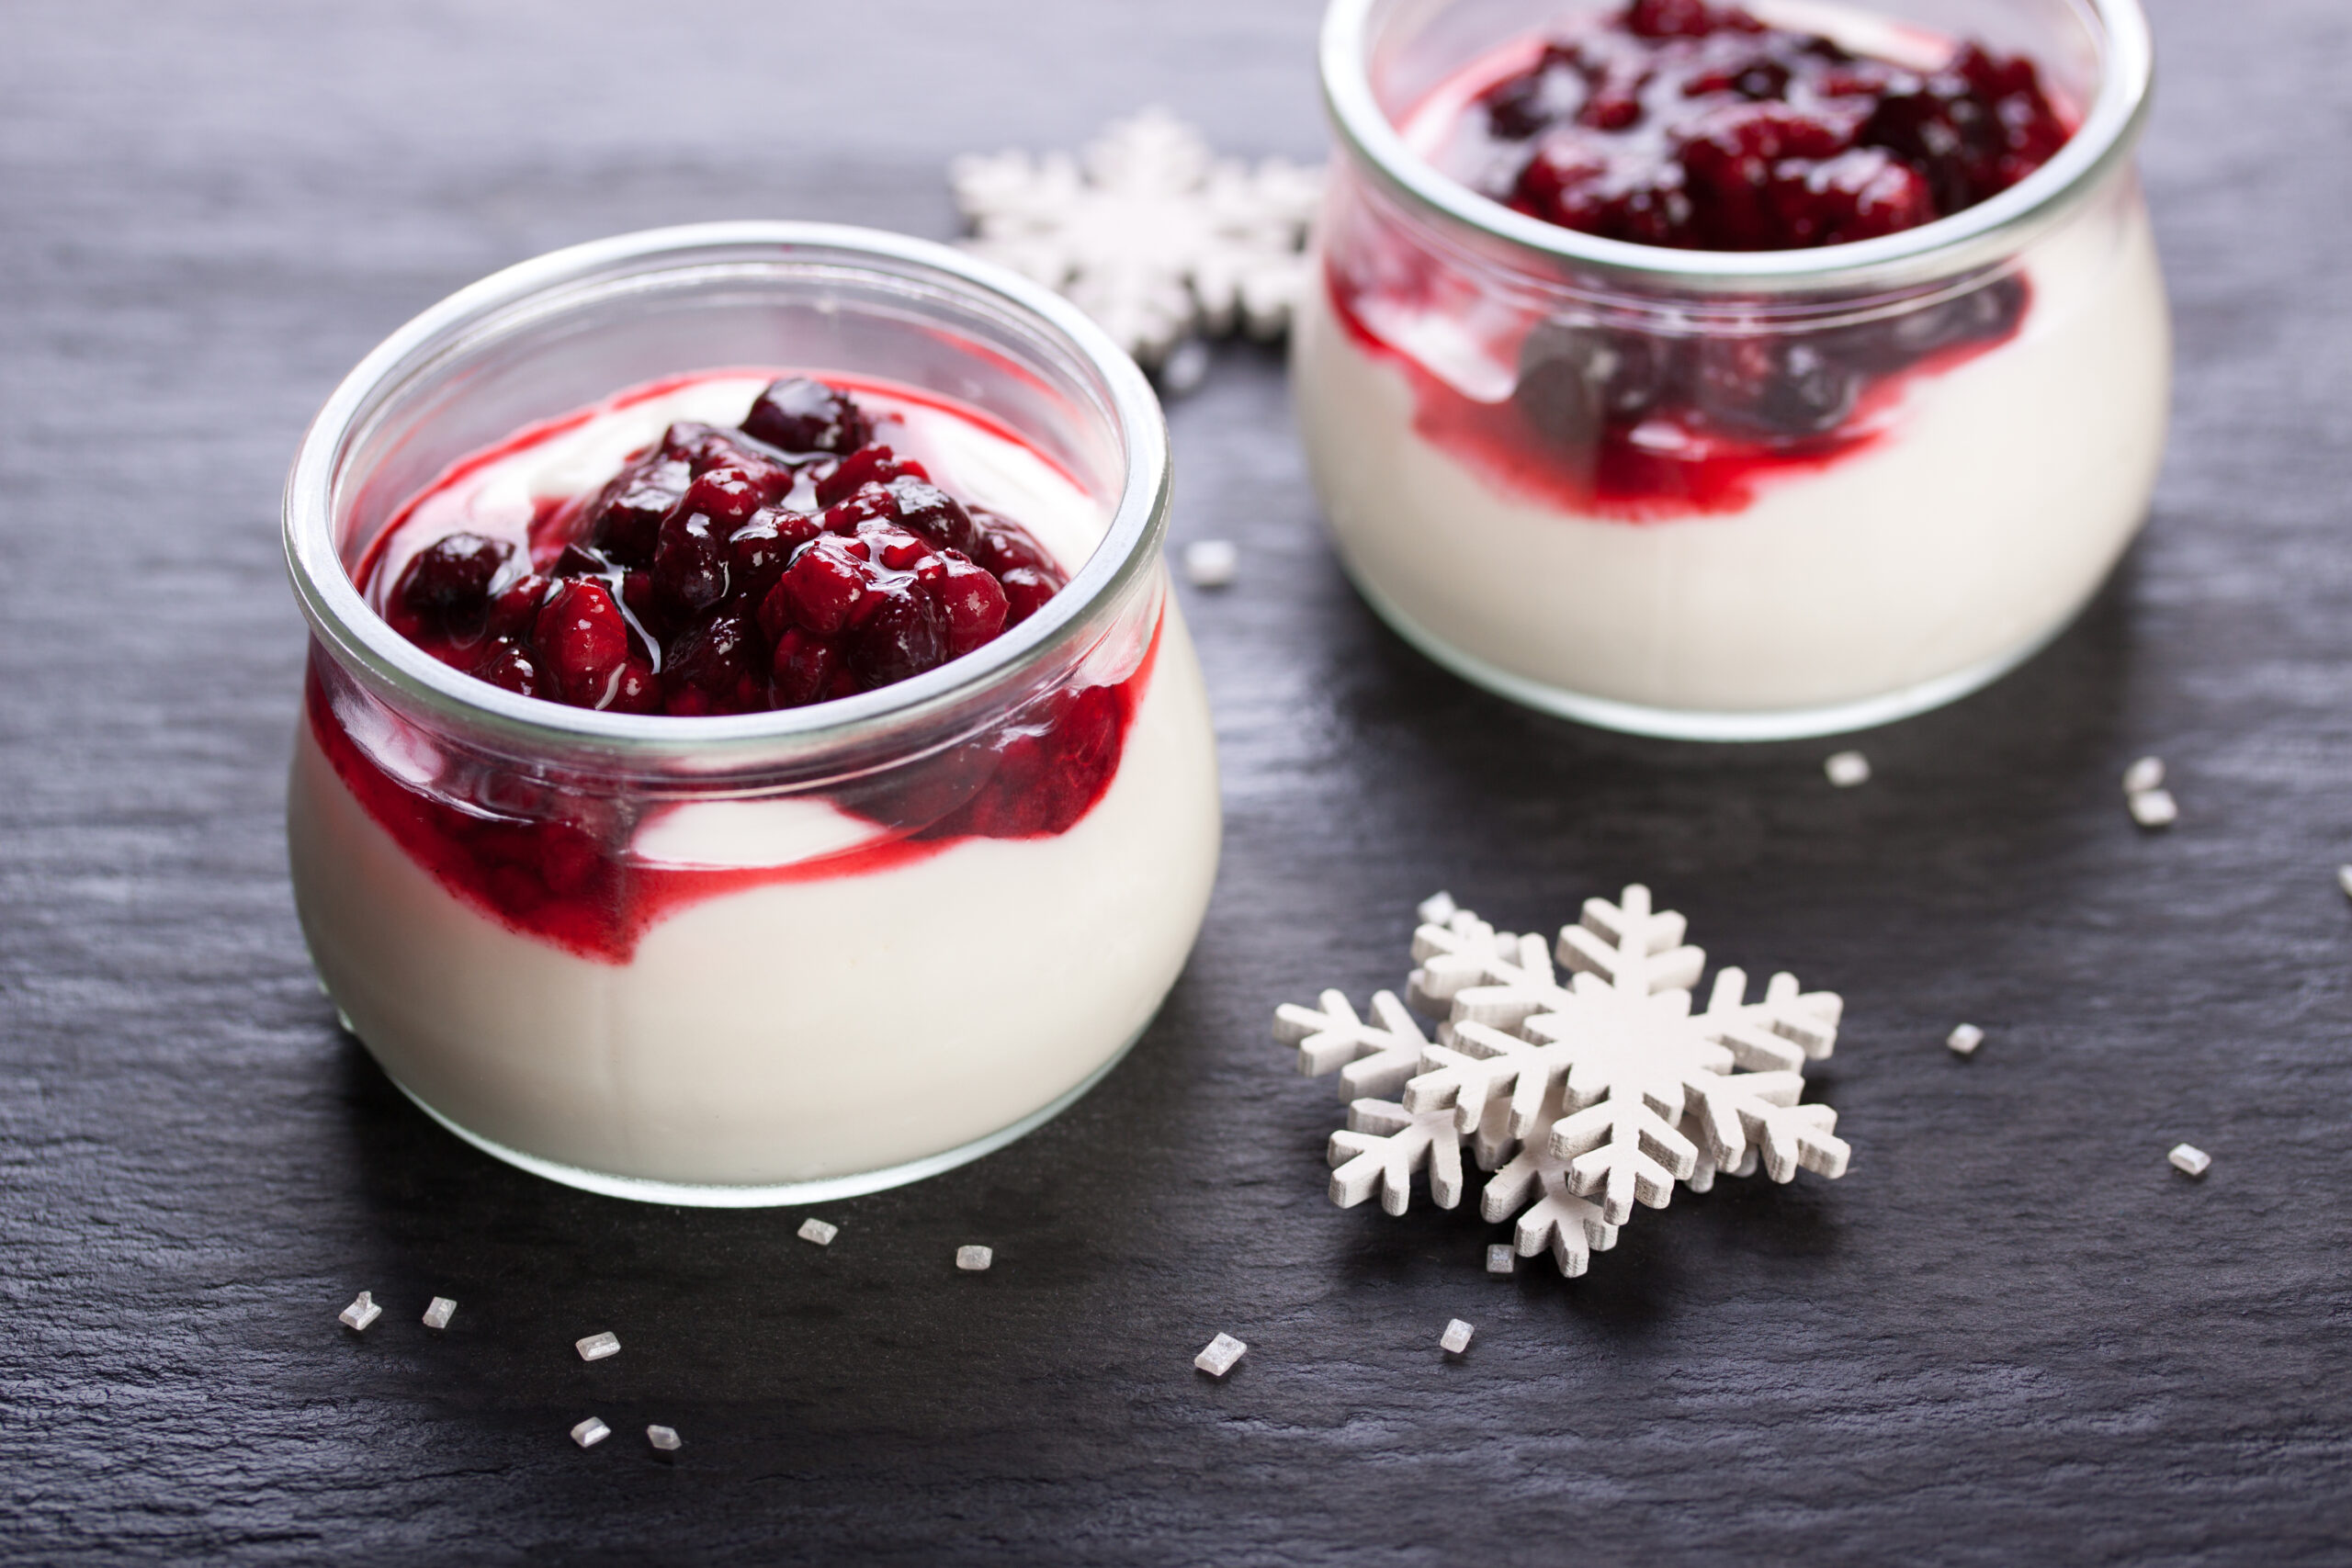
Your delicious white chocolate mousse can be enjoyed in numerous ways, making it a versatile dessert that suits various occasions. For an elegant presentation, consider serving the mousse in individual dessert cups or jars. Garnishing with fresh berries like raspberries or strawberries provides a beautiful contrast to the creamy white chocolate and adds a refreshing tartness. Additionally, a sprinkle of grated white chocolate or a drizzle of dark chocolate sauce can enhance the visual appeal and flavor profile.
If you want to add a bit of crunch, consider topping your mousse with crushed cookies, caramelized nuts, or even a dollop of whipped cream. Each of these options adds texture and an exciting twist to your dessert, making it even more enjoyable.
Variations to Elevate Your White Chocolate Mousse
While the classic white chocolate mousse is a delight on its own, experimenting with flavors and ingredients can lead to exciting variations. One popular twist is to infuse the cream with flavors such as espresso, orange zest, or mint before whipping. This infuses the mousse with aromatic notes that beautifully complement the white chocolate.
For a fruitier version, consider incorporating a fruit puree, like passion fruit or mango, into the mousse. This not only adds a vibrant color but also a refreshing flavor that pairs well with the sweetness of the chocolate. Simply fold the puree in after combining the chocolate with the whipped cream, ensuring it is evenly distributed.
Storage Tips for Your White Chocolate Mousse
After preparing your white chocolate mousse, proper storage is key to maintaining its delicious texture and flavor. If you have leftovers, store the mousse in an airtight container in the refrigerator. It can last for up to three days, although it is best enjoyed fresh. Before serving any stored mousse, give it a gentle stir to restore its creamy consistency.
For longer storage, consider freezing the mousse. While this may slightly alter the texture, it can be a convenient option for meal prep. To freeze, spoon the mousse into individual servings and cover tightly. When ready to enjoy, thaw in the refrigerator overnight before serving.
In conclusion, making an easy white chocolate mousse is not only a rewarding experience but also a delightful way to treat yourself and your loved ones. With just three ingredients and a few simple steps, you can whip up a dessert that embodies luxury and comfort. Whether you choose to serve it plain or with exciting variations, this no-bake dessert is sure to become a cherished recipe in your collection.
